No outfit photo these past two days, but I redid my nails.
No outfit photo these past two days, but I redid my nails.
And here are your psychedelic nails of the week.
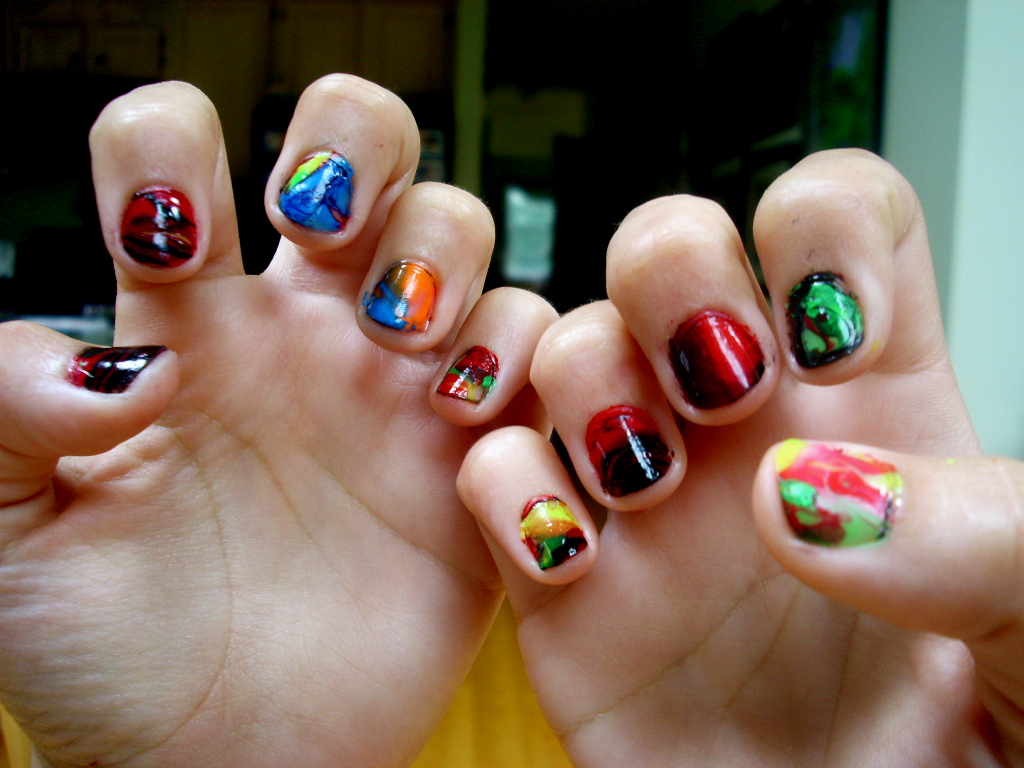
There you go. Here’s a better picture of my acid nails.
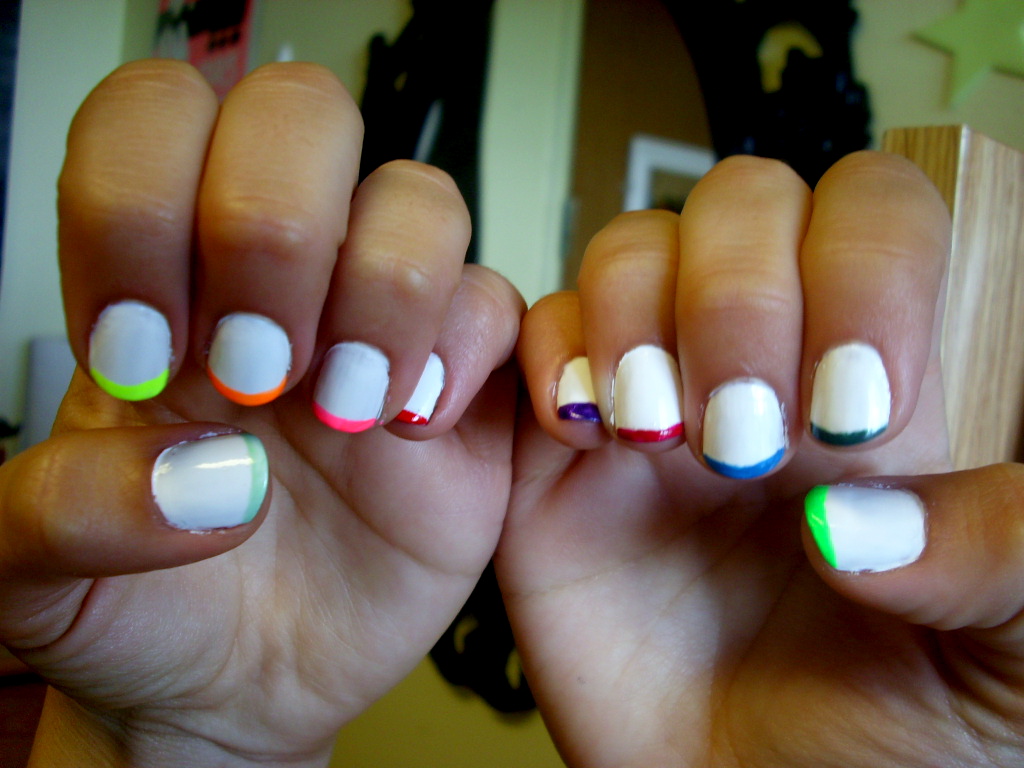
I followed these directions to get this design. I had never done this sort of thing before to my nails and I just wanted to quickly supplement the directions in case you want to try something similar.
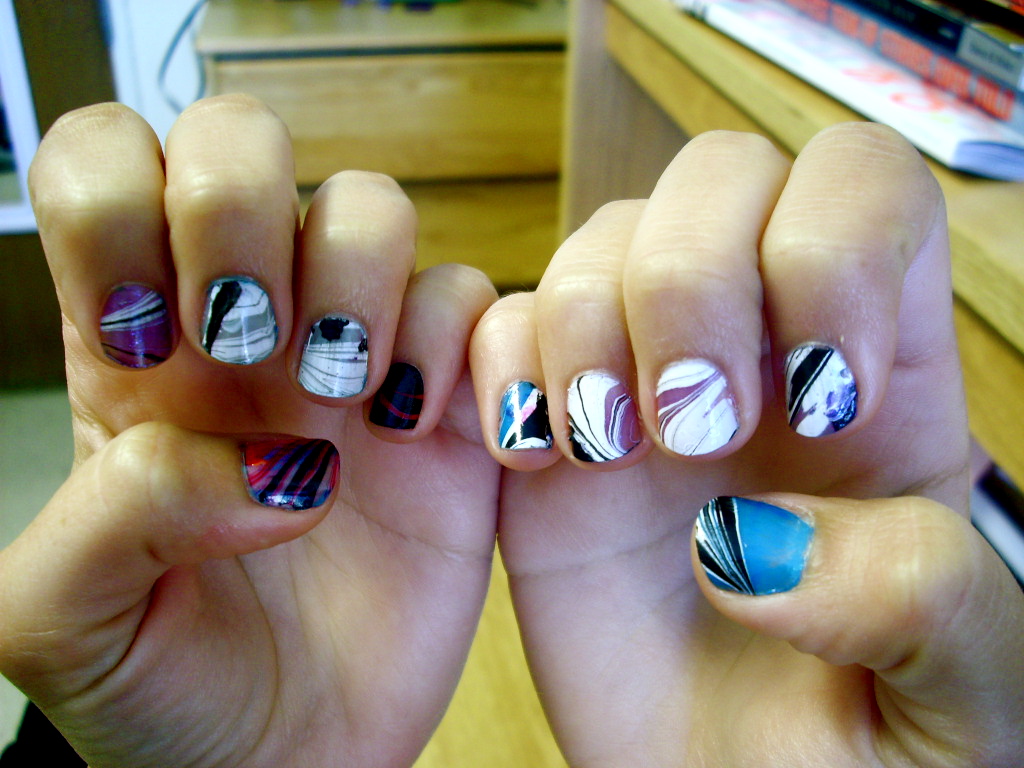
So there you go. My first attempt at nail marbling was pretty ok, and now I’m really psyched up to buy a bunch of cheap nail polishes from Walmart so I can try it again.
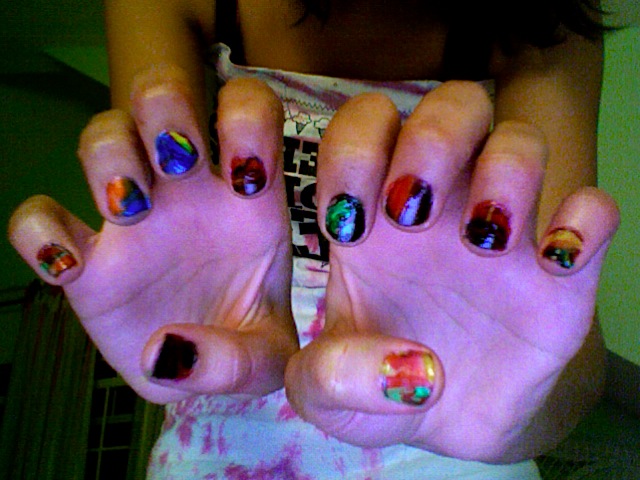
I think junior year will be the year of the psychedelic nails.
After much effort, my nails have officially tuned in, turned on, and dropped out.
(excuse the horrible quality, a better picture will come soon.)